Although there are many ways to improve property values, some are more effective than others. Multiple experts related to the real estate industry recommend landscaping as one of the best ways to increase your home’s value and speed up the sales process. Landscaping involves more than just trees and grass, however, and you must consider several factors before investing in a yard makeover. Read on for some helpful tips for upgrading your home’s curb appeal with landscaping.
How Landscaping Can Help Sell Your Home
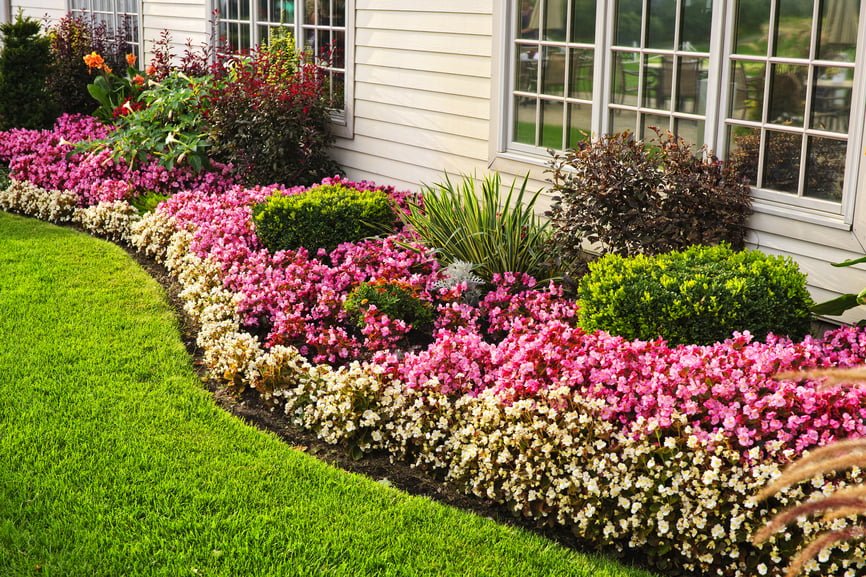
Good landscaping equates to curb appeal for your home. This is important because curb appeal is the first thing any potential buyer will evaluate. The Appraisal Institute confirms that landscaping can significantly affect both the value and salability of your home. Naturally, this correlation goes both ways; if your landscaping appears neglected, your home will bring a lower price and be harder to sell. If it looks good and is well maintained, it could increase your home’s value by 12 percent or even more, according to horticulturists at Virginia Tech University.
Landscape Components to Consider
Grass, trees and plants are all important parts of your landscape, but they aren’t everything. Lighting and hardscape components, including fencing, porches, planting beds and fountains, are also significant. Use a design that is comparable to what others in your area are doing successfully, and one that matches the architectural style of your home. The design’s level of sophistication will help determine how much value it adds, but so will your neighbors’ yards. If the homes around you are well landscaped, yours should rise to the occasion. But if they are unkempt and unsightly, spending a lot of money on your own yard may be wasted.
Some “Don’ts” to Keep in Mind
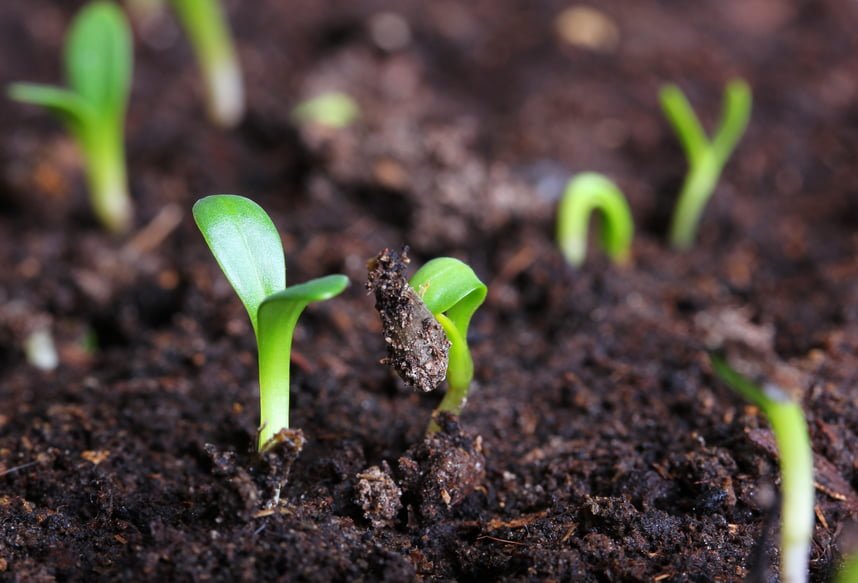
The International Association of Certified Home Inspectors warns homeowners to keep trees well clear of your home and other structures on your property. Trees can present a fire hazard, but more importantly, overgrown root systems can damage your home’s foundation, plumbing or sewer system. Don’t allow plants or trees to become overgrown to the degree that they engulf the house or damage its components. Finally, don’t wait until the last minute to start your project. Your new landscaping needs at least six months to take hold and begin to bloom, so plan well in advance of when you hope to sell your home.
Millcreek Gardens, serving Salt Lake City, Utah, and the surrounding communities, has everything you need to bring your home’s landscaping up to par. Specializing in plants, trees and accessories suitable for northern Utah’s climate, Millcreek Gardens can also give you the expert advice you need to improve your property value with landscaping.


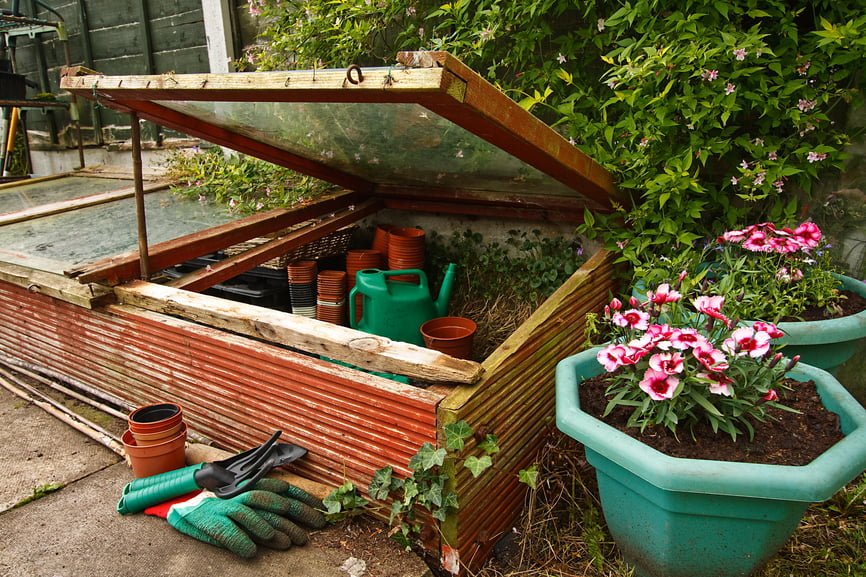 Cold frames are a practical and effective way to