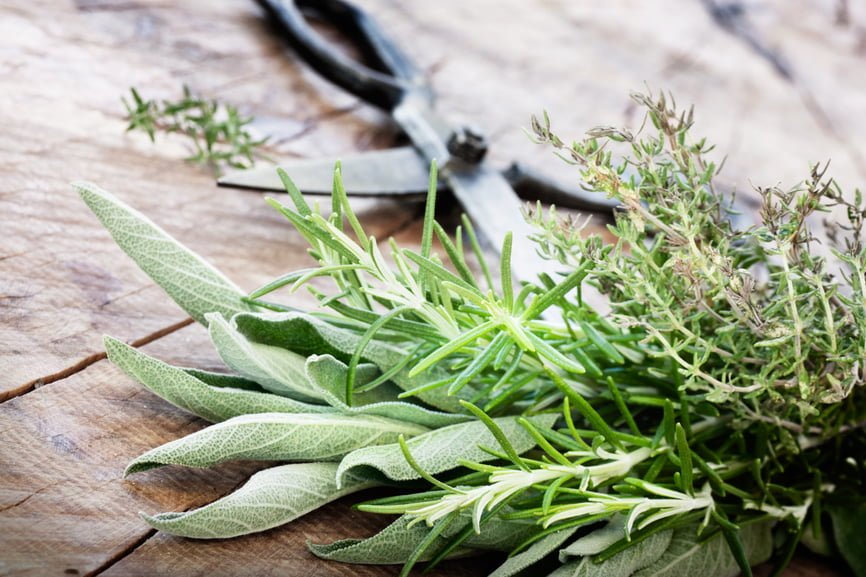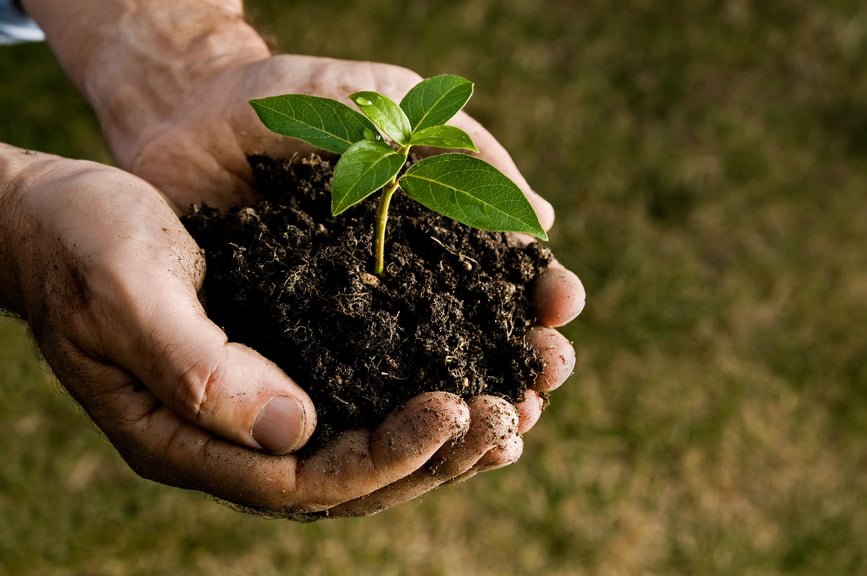
Growing an herb garden of any kind is fun and rewarding. When it does double duty as a design element, the results can be even more impressive. The Internet is full of creative ideas for using repurposed pallets, but the herb garden version is both easy and delightful to the eye. Pallets offer a condensed but highly organized and effective option for growing herbs. This project allows you to hang your garden right on your porch or patio wall.
Creating the Pallet Garden
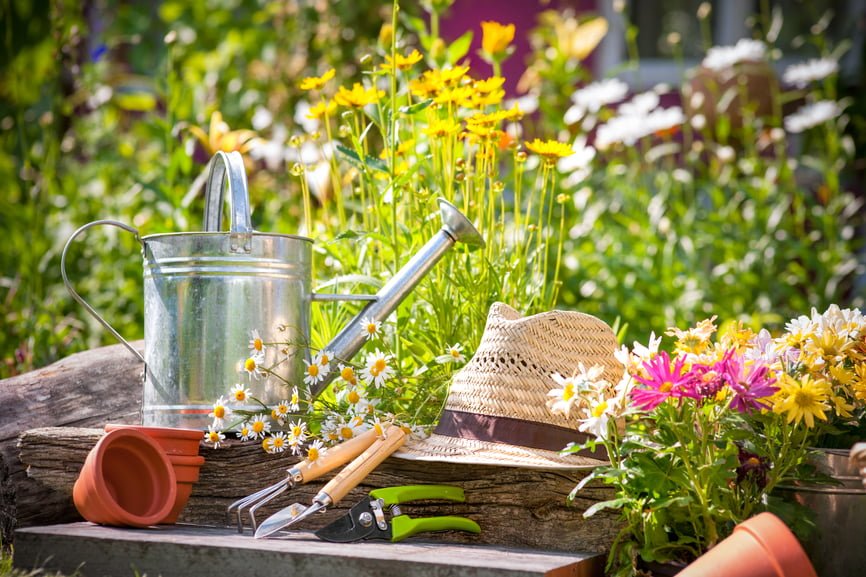
To repurpose an existing pallet for an herb garden, choose one that is straight and in good condition. It is especially important that your pallet has sturdy boards and sound anchors to support your garden. If possible, select a pallet that has been heat-treated rather than pressure-treated, so no chemicals can seep into the herbs as they grow. You will need a few additional supplies for your project, including soil, heavy-duty plastic sheeting, landscape fabric, sandpaper, a staple gun and staples and of course, the herbs themselves. Since your creation will eventually be wall-mounted, you will also need an ample supply of sturdy wall anchors and a location that will support the completed pallet garden.
Planting Your Herbs
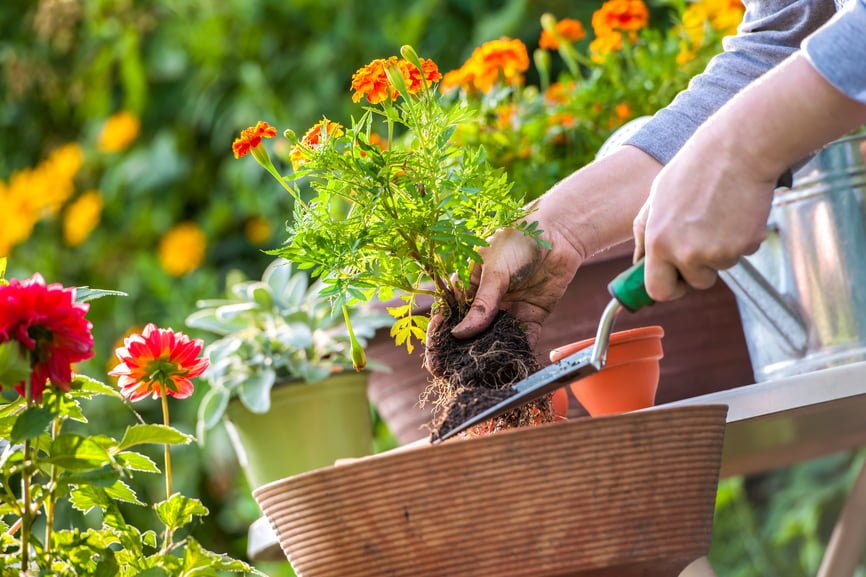
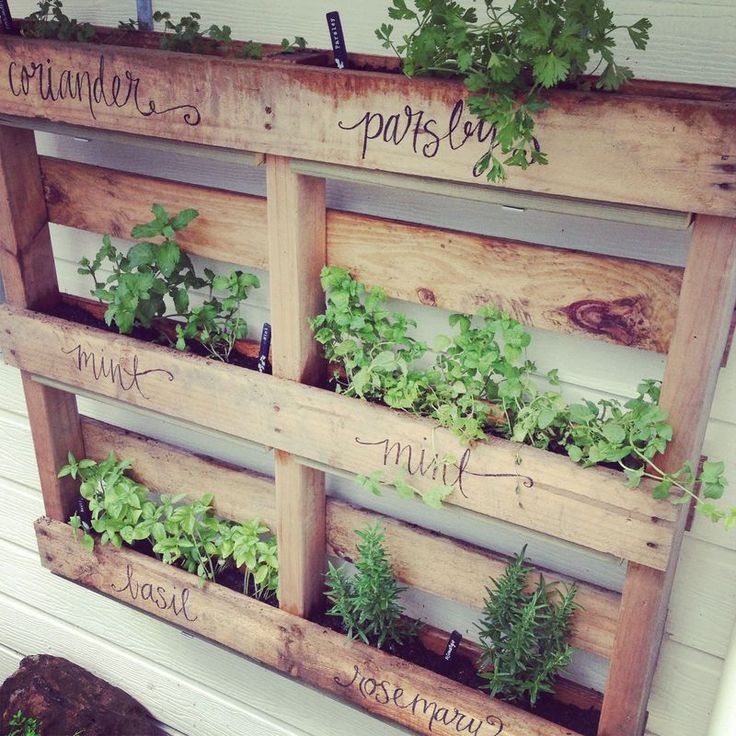
The secret to your wall-mounted herb garden is to plant horizontally. In other words, lay the pallet flat when creating it, and give the herbs some time to grow correctly before mounting it on the wall. Plan to keep the pallet flat for about two weeks, to allow for suitable root placement. Sand the boards to remove any splinters, and if you plan to paint or stain the pallet’s exterior, now is the time for that step. Begin planting at what will eventually be the bottom and work your way up, to ensure that the soil is firmly situated on each level. Attach heavy plastic over the back and bottom. Next, attach landscape fabric between each slat, using your staple gun, to create a deep trough in which to place the soil. Space the herb seedlings at least 4 inches apart, to allow room to grow and prevent overcrowding.
Maintaining the Pallet
With any herb garden, it is important to not only construct it correctly, but to invest in routine upkeep. The most important step, especially in the first two weeks, is to water the herbs regularly. Begin at the top, allowing the water to trickle down through each layer. Take care not to overwater, however, as this can increase the weight of the garden and waterlog the herbs. For a bit of organization and decoration, consider labeling your herb garden or adding whimsical plant tags.
Growing an herb garden is not only fun, but also offers fresh ingredients for meal preparation. The maintenance of herbs is relatively low compared to other plants too, offering a relaxing outdoor activity for the entire family. Millcreek Gardens, serving Salt Lake City and the surrounding areas, can help you select the perfect plants, soil and accessories to get your pallet herb garden started today.