A dizzying array of gardening supplies is available these days. With all of the different types of tools out there, it can be hard to know where to start, especially for new gardeners.
The right tools can make any job easier, but which ones are really essential? The friendly staff at Millcreek Gardens can answer your questions whenever you visit our Salt Lake City nursery garden center.
Meanwhile, we’ve assembled a handy list of the tools and gardening supplies any new gardener needs to have on hand.
Gardening Supplies for Digging Tasks
Gardening involves quite a lot of digging, and new gardeners need a couple of different hand tools for this purpose.
A hand rake – the three-pronged tool that resembles a fork – is useful for turning and loosening soil. And a trowel, or pointy-ended hand shovel, can help dig small holes and break up dirt clumps. Trowels are also quite useful for digging out weeds and planting container gardens.
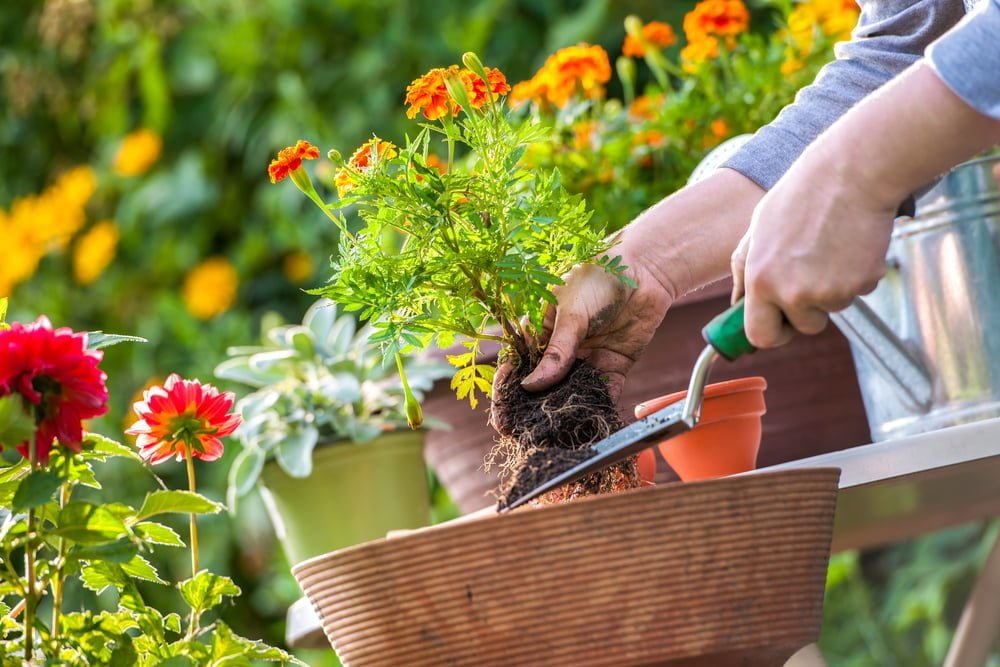
In some situations, gardeners need long-handled digging tools capable of moving a larger amount of soil. A spade, which is basically a square-headed shovel, is ideal to edge garden beds, remove sod and create plant holes.
Gardening Supplies for Plant Maintenance
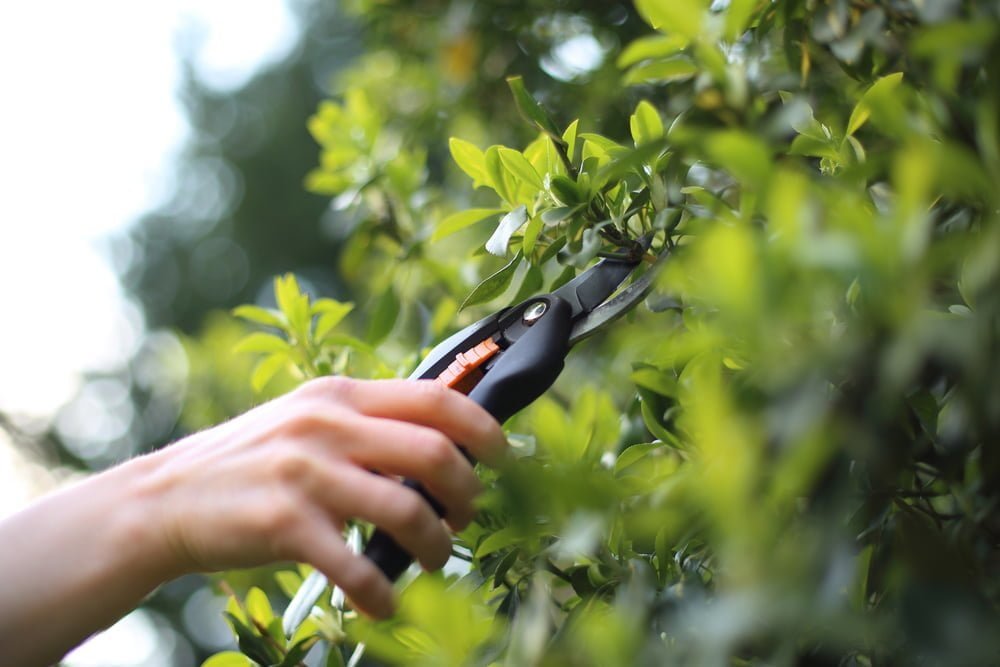
New gardeners are often surprised to learn how much cutting is involved in maintaining their plants.
Deadheading (removing dead flowers), pruning back overgrowth, snipping soft-stemmed plants like herbs, dividing perennials – the list goes on and on, and a few different garden tools may be needed to accomplish every task.
A pair of garden shears works well for smaller jobs, such as cutting small diameter stalks. For thicker, tougher stems and roots, bypass pruners are ideal. And, anyone who chooses trees and shrubs as part of their landscape design will appreciate a pair of garden loppers to remove larger branches, especially those that are higher off the ground.
Other Essential Gardening Supplies for New Gardeners
Garden gloves are just as important as digging and cutting tools.
Washable synthetic gloves are great for general maintenance tasks, while latex-coated cotton gloves are well-suited for the really dirty and wet jobs. A pair of, heavy-duty leather garden gloves can protect the hands during tough digging and clearing jobs and protect you from those plants with thorns.
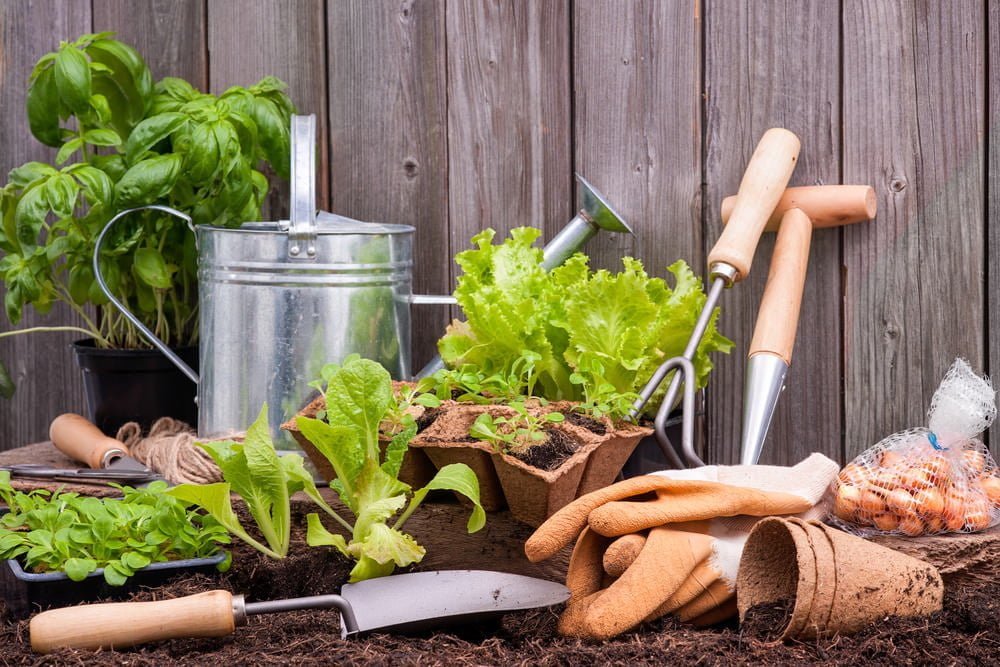
Don’t forget about storage for your garden tools. A bucket or garden bag is a good option for small gardening supplies because it can keep them corralled and travel with you as you work. Your long-handled tools can hang on a simple and inexpensive peg rack.
Finally, every new gardener needs a watering can; those with larger garden landscapes also need to invest in a hose with a spray nozzle.
Whether you’re a master gardener or just starting out, Millcreek Gardens offers everything you need to create the perfect garden and landscape. In addition to landscape and shade trees, shrubs and flowering plants, we carry a full line of tools and gardening supplies for every budget.