Did you know you can grow strawberries indoors all year long?
While winter languishes, many of us dream about the sweet, juicy strawberries we enjoyed last summer. Why not turn that dream into reality?
In a few easy steps, you can bring that summer freshness to your family any time of the year.
Why We Love Growing Strawberries Anywhere, Any Time
If you’ve ever grown these delightful little fruits in your outdoor garden, you know how amazing they are.
With relatively little care, your plants will produce volumes of berries in a small space. This is why they’re ideal for an indoor growing adventure. Not only are homegrown berries tasty and good for you; they’re also a great way to get started with organic growing.
You’ll know exactly where your fruit came from, so you’ll have no worries about contamination or other commercial farming risks. Many of the berries you buy in the store today come from countries that lack our closely regulated growing environment.
Planting and Care Are As Easy As Strawberry Pie
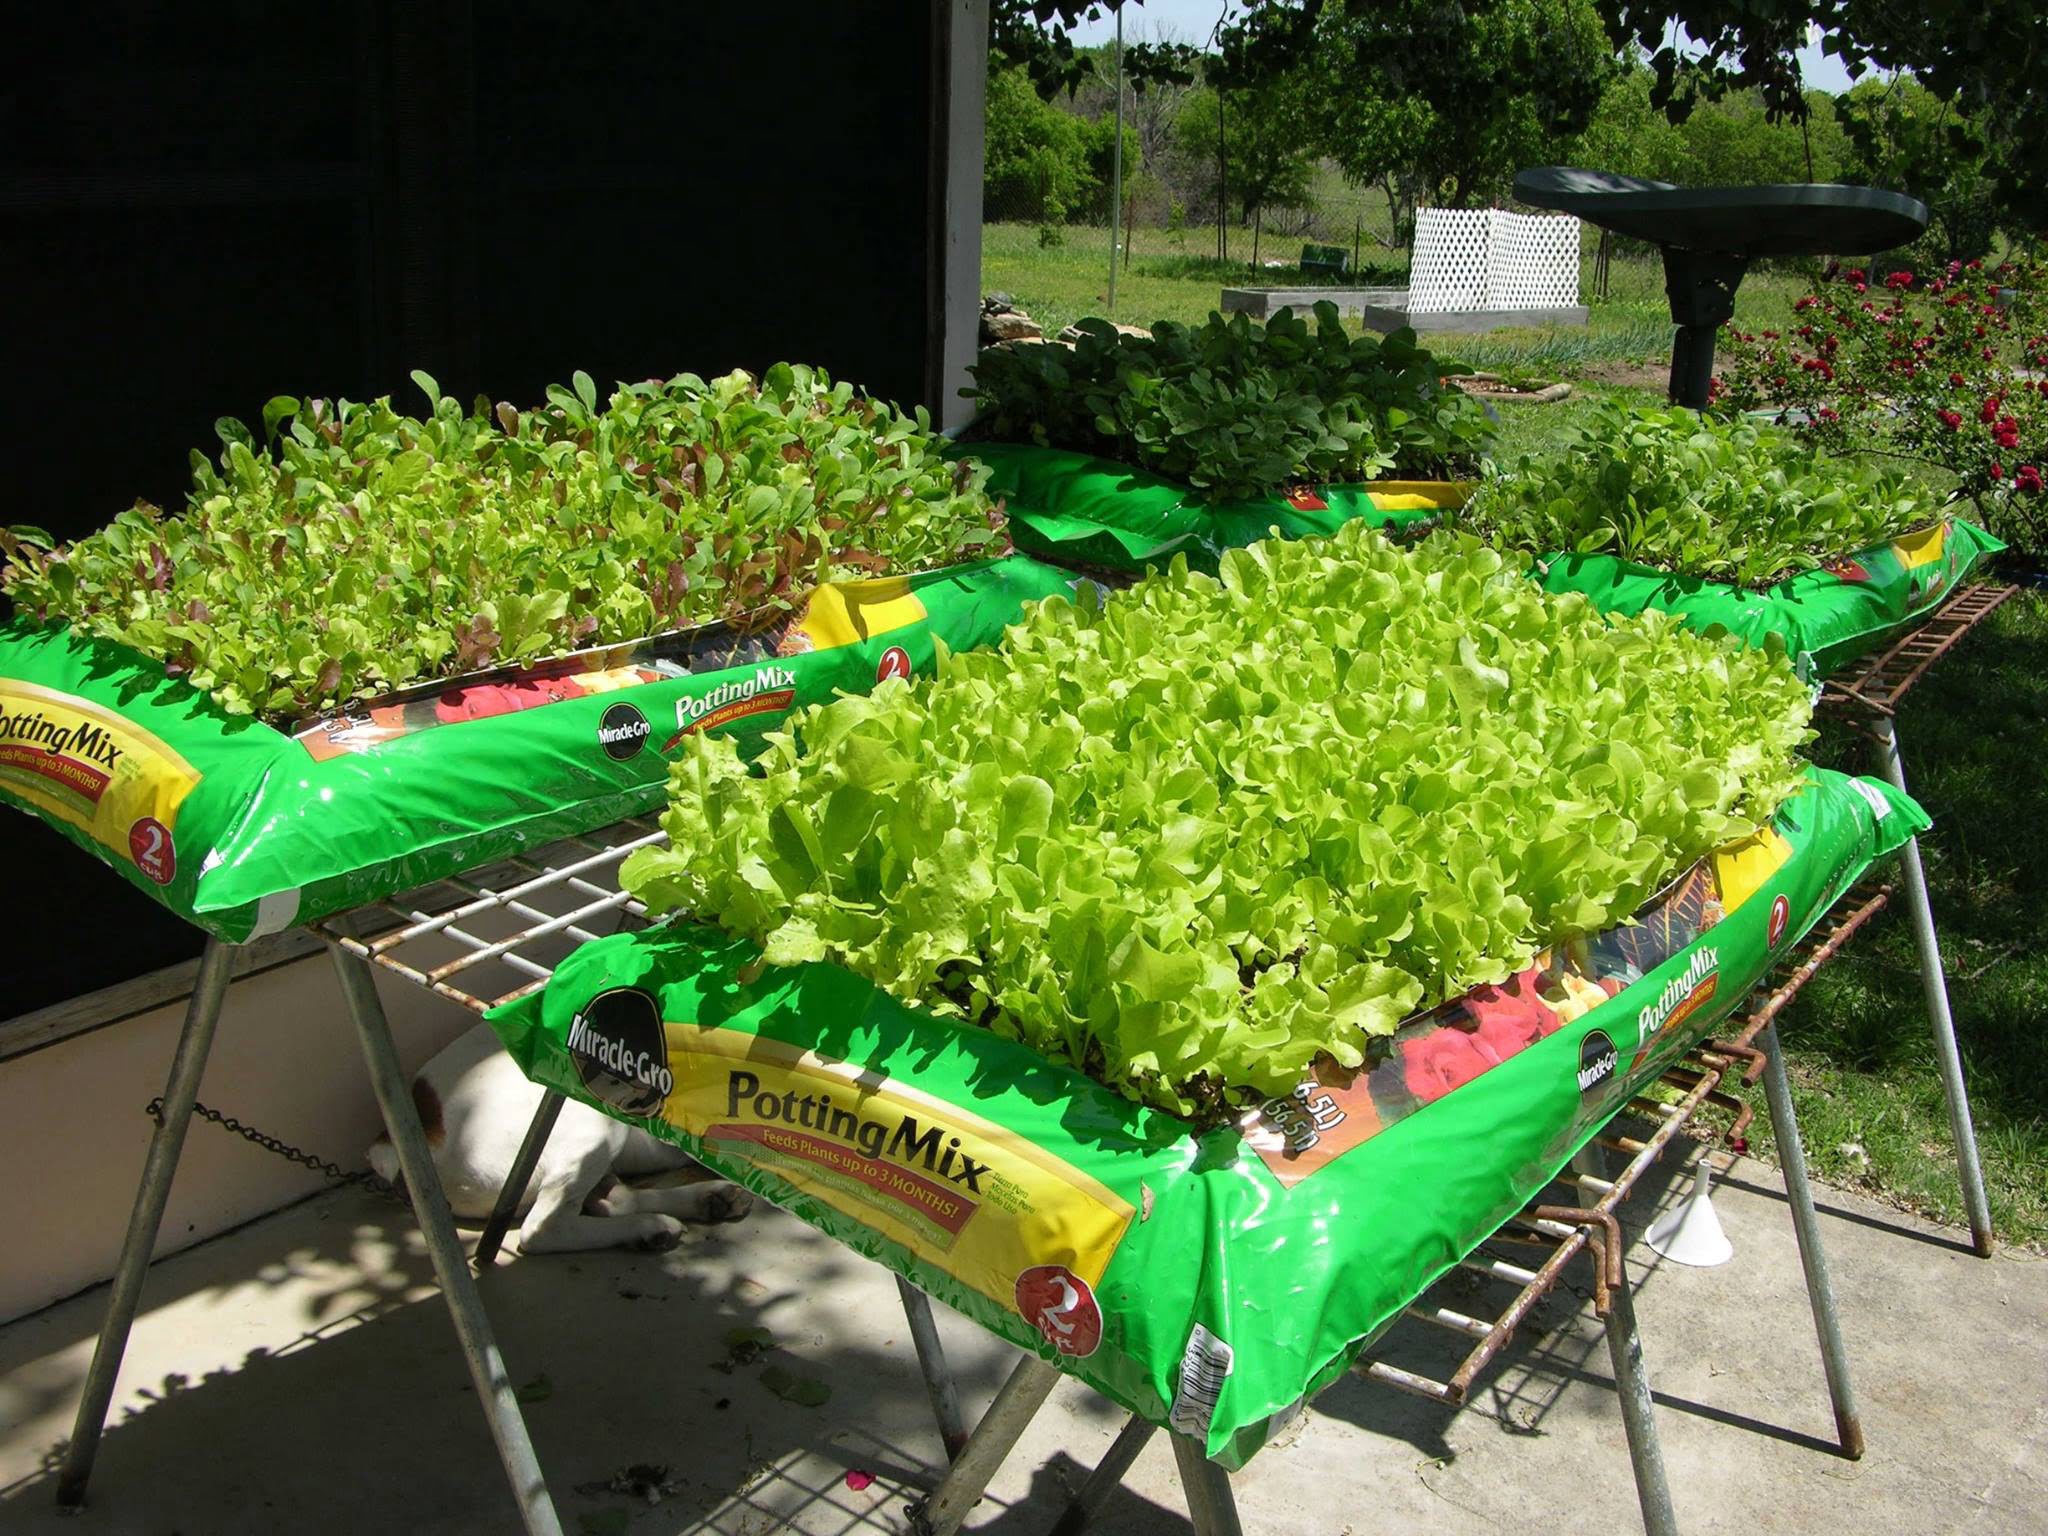
Choose a strawberry varietal that is ever-bearing or day neutral. Place the plant’s roots in water for about an hour prior to planting, while you prepare your pots. The size of your pot and the soil mixture you need depends on the type of plants you selected.
Ask the garden center for guidance in choosing these important elements, and always be sure any container your use has proper drainage holes and a catch plate.
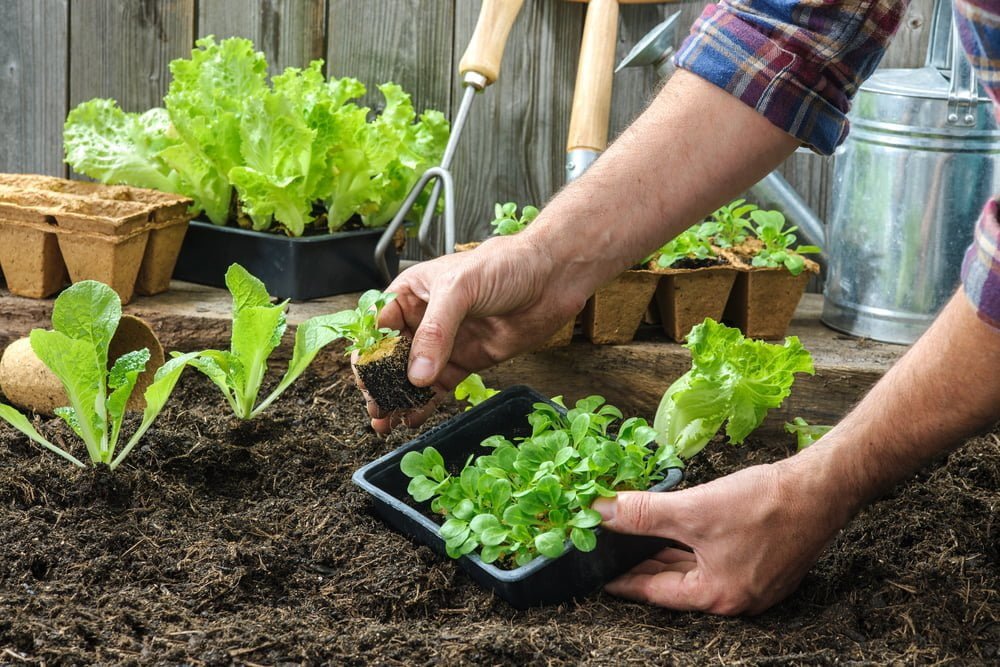
Fill your containers with potting mix, then make an indentation in the soil with your finger or a small garden trowel. Situate the plant so that its roots are pointing straight down, the use your fingers to gently nestle dirt around the new plant.
Helpful Hints for Growing Strawberries Indoors
You can plant your indoor berries any time of year. No need to wait for the normal growing season. Without the benefit of bees and other pollinators, however, you may have to pollinate your strawberries by hand. Check out this quick video with Chef Teca Thompson demonstrating how to pollinate indoor strawberries!
Make sure your plants have plenty of sun, and rotate them every week or two to ensure even growth. Use warm water for watering and water only in the morning or early afternoon. Fertilize your plants with an organic fertilizer that’s appropriate for the varietal, following the advice of your nursery.
Finally, harvest your berries as soon as they ripen to keep the plants producing and enjoy the fresh fruits of your labor.
Millcreek Gardens is the premier local plant nursery and garden center in the Salt Lake City area. Stop in today to shop our wide selection of plants, shrubs and trees, as well as a full line of gardening supplies. Talk with one of our helpful associates for all the advice you’ll need to grow strawberries indoors.